Moving your WordPress site to a new host can feel scary. But it does not have to be a monster under the bed. With a clear checklist, it becomes a simple step-by-step job. Think of it like moving house, but your furniture is made of files, databases, plugins, and settings.
TLDR: Back up your site before you touch anything. Pick a good new host, copy your files and database, then test everything before changing your domain settings. Keep your old hosting active for a few days, just in case. Go slow, check each step, and your WordPress move can be smooth and drama-free.
Why a WordPress Migration Checklist Matters
A WordPress migration is the process of moving your website from one hosting provider to another. It may sound technical. It may sound like something only a wizard in a hoodie can do. But you can handle it if you follow a plan.
A checklist helps you avoid panic. It keeps you from forgetting important steps. It also helps you protect your site from downtime, broken links, missing images, and sad visitors staring at error pages.
Before you start, take a breath. Grab coffee. Or tea. Or a giant water bottle if you are being responsible. Then work through the steps below.
1. Choose Your New Hosting Provider
Do not move your site to the first host you find. That is like renting an apartment because the doorbell sounds cute. Slow down and compare your options.
Look for a host that offers:
- Fast servers for better page speed.
- Strong uptime so your site stays online.
- Good support that answers real questions.
- Free SSL certificates for secure browsing.
- Daily backups for extra safety.
- Easy WordPress tools for updates and staging.
If your site gets a lot of traffic, choose hosting that can grow with you. If your site is small, basic managed WordPress hosting may be enough.
Tip: Ask the new host if they offer free migration help. Many do. Some will move your site for you. That is the hosting version of getting friends to carry your sofa.
2. Review Your Current Website
Before moving, take a tour of your current site. Click around. Check your pages. Look at your plugins. Review your theme.
Ask yourself these questions:
- Do all pages still need to exist?
- Are there old plugins you no longer use?
- Is your theme up to date?
- Are there broken links?
- Is your site already slow?
This is a great time to clean house. Delete unused themes. Remove inactive plugins. Clear spam comments. Empty the trash. Your website should not move with digital junk in the basement.
3. Update WordPress, Themes, and Plugins
Before migration, update everything. This means WordPress core, your active theme, and all plugins.
Why? Because outdated software can cause problems during migration. It can also create security risks. Nobody wants a hacker party on their website.
But update with care. Do not smash the update button like it owes you money. Update one thing at a time if your site is large or complex. Then check that everything still works.
If possible, make a backup before updating. Which brings us to the most important step.
4. Make a Full Website Backup
This is the golden rule. Back up your site before migration. Do not skip this. Do not “just trust the process.” The process is nice, but backups are nicer.
A full backup should include:
- WordPress files, including themes, plugins, and uploads.
- Your database, including posts, pages, users, comments, and settings.
- Configuration files, such as wp-config.php and .htaccess.
You can create a backup using a plugin. You can also use your hosting control panel. Some people use FTP and phpMyAdmin. Pick the method you understand best.
Store the backup somewhere safe. Use cloud storage. Use your computer. Use both if you want to sleep better.
Image not found in postmeta5. Check Your Domain and DNS Settings
Your domain name is your website address. DNS settings tell the internet where your site lives. When you switch hosts, you usually need to update DNS records.
Before migration, find out where your domain is managed. It might be at your old host. It might be at a domain registrar. It might be somewhere you forgot about three years ago.
Write down your current DNS records. Save screenshots too. Important records may include:
- A record for your website IP address.
- CNAME records for subdomains.
- MX records for email.
- TXT records for verification and security.
Be extra careful with email records. You do not want your website to move and your email to vanish into the fog.
6. Set Up the New Hosting Account
Now it is time to prepare your new hosting home. Log in to your new hosting dashboard. Add your domain. Install WordPress if needed.
Some hosts give you a temporary URL. Others let you create a staging site. This lets you test your site before the world sees it.
Make sure PHP versions match or improve your old setup. Check database settings. Turn on SSL if your host allows it before launch.
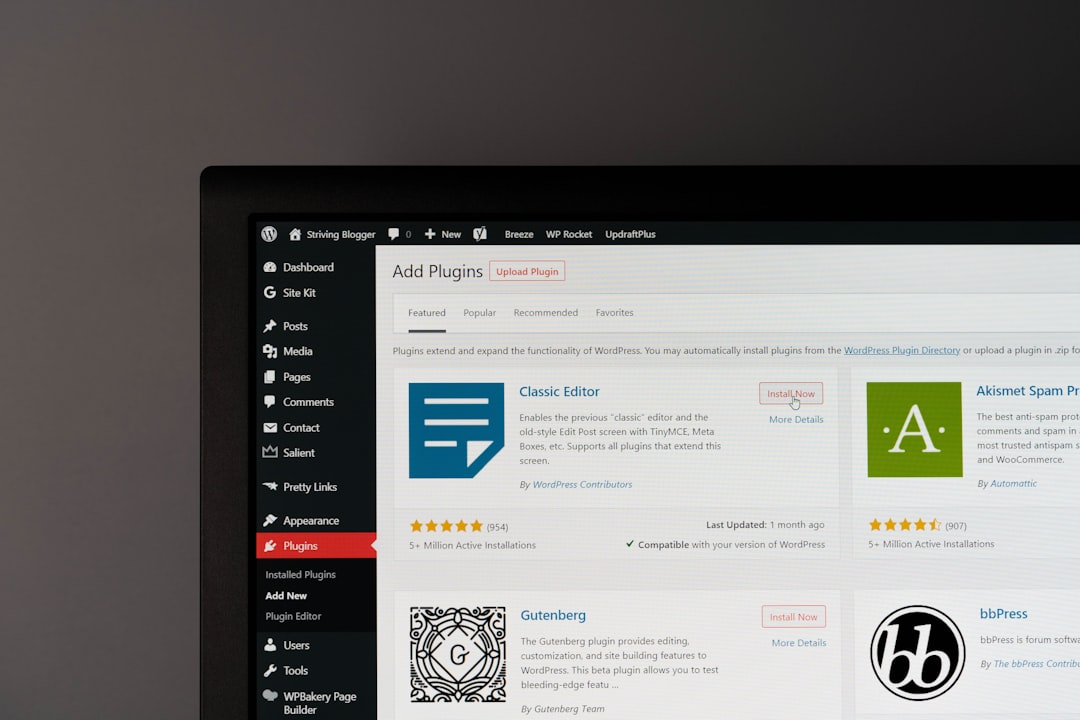
If your new host has a migration plugin, follow its guide. If not, you can move the site manually or use a trusted migration plugin from the WordPress directory.
7. Move Your WordPress Files
Your WordPress files include the stuff that shapes and powers your site. This includes themes, plugins, media uploads, and core files.
You can move files using:
- An FTP client.
- Your hosting file manager.
- A migration plugin.
- Command line tools, if you are feeling fancy.
The most important folder is usually wp-content. It contains your themes, plugins, and uploads. In other words, it holds much of your site’s personality.
Upload the files to the correct location on the new server. This is often the public_html folder. But each host can be different, so check their instructions.
8. Export and Import the Database
Your database holds your posts, pages, users, comments, menus, and many settings. If WordPress files are the body, the database is the brain.
To move it manually, export the database from your old host. Usually, this happens through phpMyAdmin. Then create a new database on your new host and import the old database into it.
After that, update your wp-config.php file with the new database name, username, password, and host.
Be careful here. One wrong letter can break the connection. WordPress will then show a database error. It looks scary, but it usually just means the login details are wrong.
9. Search and Replace URLs if Needed
If your domain name will stay the same, this step may be simple. But if you are moving from a temporary URL or changing your domain, you need to update old URLs.
Use a safe search and replace tool made for WordPress. Do not edit the database by hand unless you know what you are doing. WordPress stores some data in a special way. A bad edit can make things weird.
Common things to update include:
- Site URL.
- Home URL.
- Image links.
- Internal page links.
- Builder plugin data.
After updates, click through your site. Check images. Check buttons. Check menus. If something looks odd, investigate before going live.
10. Test the Site Before Going Live
This is the fun detective part. You are looking for clues. Broken clues. Missing clues. Clues wearing fake mustaches.
Test these items:
- Homepage loads correctly.
- Blog posts display content and images.
- Contact forms send messages.
- Menus point to the right pages.
- Search works.
- Login page works.
- Checkout works, if you run a store.
- Mobile layout looks clean.
Also test speed. Your new host should not feel slower than the old one. If it does, check caching, image sizes, plugins, and server settings.

11. Update DNS Records
Once the new copy works, it is time to send visitors to the new host. This usually means updating your domain’s DNS records.
You may change the nameservers. Or you may update the A record to point to your new server IP address. Your new host will tell you which option to use.
DNS changes can take time. This is called propagation. It can take a few minutes. It can also take up to 48 hours. The internet likes to take scenic routes sometimes.
During this period, some visitors may see the old site. Others may see the new one. That is normal. Try not to refresh the page every seven seconds. It will not make DNS move faster.
12. Keep the Old Hosting Active
Do not cancel your old hosting right away. Keep it active for at least a few days. A week is even better.
This gives you a safety net. If something goes wrong, you still have access to the old site. You can compare settings. You can grab missing files. You can fix problems without shouting into a pillow.
Once you are sure everything is working, then you can cancel the old plan.
13. Install or Confirm SSL
Your site should use HTTPS. That little lock icon matters. It protects visitors. It also helps with trust.
After the move, check your SSL certificate. Make sure every page loads with HTTPS. Watch for mixed content errors. These happen when some images or scripts still load over HTTP.
If you see mixed content, use a plugin or search and replace tool to fix old HTTP links. Then test again.
14. Recheck Permalinks and Redirects
Permalinks are your page URLs. Sometimes, they act strange after migration. The fix can be simple.
Go to your WordPress dashboard. Visit the permalink settings page. Click save. You do not even need to change anything. This refreshes the rules.
If you changed domains or URL structure, set up 301 redirects. These help visitors and search engines find the new pages. They also protect your SEO value.
15. Test Email and Forms
Many people forget email during migration. Do not be that person. Test your contact forms. Test order emails. Test admin messages.
If messages do not arrive, check your MX records. Also consider using an SMTP plugin. This helps WordPress send email more reliably.
Send test messages to different inboxes. Try Gmail, Outlook, and your business email. Check spam folders too. Spam folders are sneaky little caves.
16. Check SEO Settings
Your search engine rankings matter. After the move, check your SEO plugin settings. Make sure titles and meta descriptions are still in place.
Also check:
- XML sitemap.
- Robots.txt file.
- Canonical URLs.
- Indexing settings.
- Redirect rules.
Make sure your site is not set to discourage search engines. This setting is useful for staging sites. It is very bad for live sites.
17. Monitor the Site After Launch
The move is not over the moment DNS updates. Watch your site for a few days.
Check uptime. Check speed. Check error logs. Check analytics. If traffic drops hard, investigate quickly.
You should also ask real users to click around. A fresh pair of eyes helps. Your cousin, coworker, or friendly neighbor may find something you missed.
Quick WordPress Migration Checklist
Here is the short version. Use it like a travel list before takeoff.
- Choose a reliable new host.
- Review and clean your current site.
- Update WordPress, themes, and plugins.
- Create a full backup.
- Record DNS and email settings.
- Set up the new hosting account.
- Move WordPress files.
- Move the database.
- Update configuration details.
- Fix URLs if needed.
- Test the site fully.
- Update DNS records.
- Keep old hosting active.
- Check SSL and HTTPS.
- Test forms and email.
- Review SEO settings.
- Monitor after launch.
Final Thoughts
Switching hosting providers does not need to be chaotic. A good checklist turns the job into small steps. Small steps are friendly. They do not bite.
The biggest rule is simple. Back up first, test before launch, and do not cancel the old host too soon. If you remember those three things, you are already ahead.
Your WordPress site deserves a smooth move. With patience, planning, and a little checklist magic, your new hosting home can be faster, safer, and ready for whatever comes next.