
Composite photos blend two or more images into a single, believable, or intentionally imaginative final picture. They are widely used in advertising, fine art, social media, editorial design, product photography, and fantasy portraiture because they allow creators to build scenes that may be difficult, expensive, or impossible to capture in one shot.
TLDR: A composite photo is an image made by combining multiple photos or visual elements into one finished composition. The process usually involves planning, selecting compatible images, cutting out subjects, matching light and color, and refining details until the scene feels unified. Strong composites depend less on software tricks and more on thoughtful storytelling, perspective, shadows, and consistent visual style.
What Is a Composite Photo?
A composite photo is a finished image created from multiple source images. A simple composite might place a person on a new background, while a complex one might combine a sky, landscape, subject, props, textures, and special effects into a single cinematic scene. The goal can be realism, surrealism, humor, drama, or visual clarity.
In traditional photography, the camera captures one moment in one location. In composite photography, the final image is constructed. A photographer or digital artist may photograph each element separately, then bring those pieces together during editing. This makes composite work especially useful when a real-world setup would be unsafe, too costly, weather-dependent, or physically impossible.

Common Types of Composite Photos
Composite photography appears in many forms. Some composites are obvious and artistic, while others are designed to look completely natural.
- Background replacement: A subject is photographed in one location and placed into another environment.
- Sky replacement: A dull sky is swapped for a dramatic sunset, storm cloud, or starry night.
- Product composites: Products are combined with splashes, smoke, textures, or lifestyle scenes for commercial impact.
- Fantasy and surreal art: Multiple elements are arranged to create dreamlike, impossible, or symbolic scenes.
- Group composites: Several people photographed separately are assembled into one group portrait.
- Action composites: A subject appears multiple times in one frame to show movement or sequence.
Why Composite Photos Are Used
Composite photos give creators a high level of control. A photographer can choose the best pose, the best background, the best lighting, and the best atmosphere without needing everything to happen at the same time. This is especially valuable in commercial work, where a product may need to look perfect, or in portrait art, where the image must support a specific mood or story.
They also solve practical problems. If a client cannot travel to a mountain range, a believable mountain setting can be created digitally. If a scene requires perfect golden-hour light, but the shoot happens indoors, lighting and background choices can be planned for the final composite. In editorial and conceptual work, composites can communicate ideas that straightforward photography cannot easily express.
How to Create a Composite Photo
1. Start With a Clear Concept
Strong composites begin before any editing software is opened. The creator should understand the message, subject, mood, and final style. A quick sketch, mood board, or reference image can help define the composition. Planning also helps determine what photos are needed: the main subject, background, objects, textures, skies, shadows, or effects.
For realism, the concept should consider perspective, camera angle, and light direction. If the background was photographed from a low angle, the subject should be photographed from a similar angle. If the light in the background comes from the left, the subject should not be lit strongly from the right unless the mismatch is intentional.
2. Gather Compatible Source Images
The best composite is usually built from images that already share similar qualities. Resolution, lens perspective, lighting, color temperature, and depth of field all matter. A high-resolution subject placed into a low-resolution background will look unnatural. A sharp subject placed into a blurry scene may also appear pasted on.
Whenever possible, creators photograph their own elements under controlled lighting. Stock images can also be used, but licensing should be checked carefully. The source images should have enough detail to withstand masking, resizing, and color adjustment.
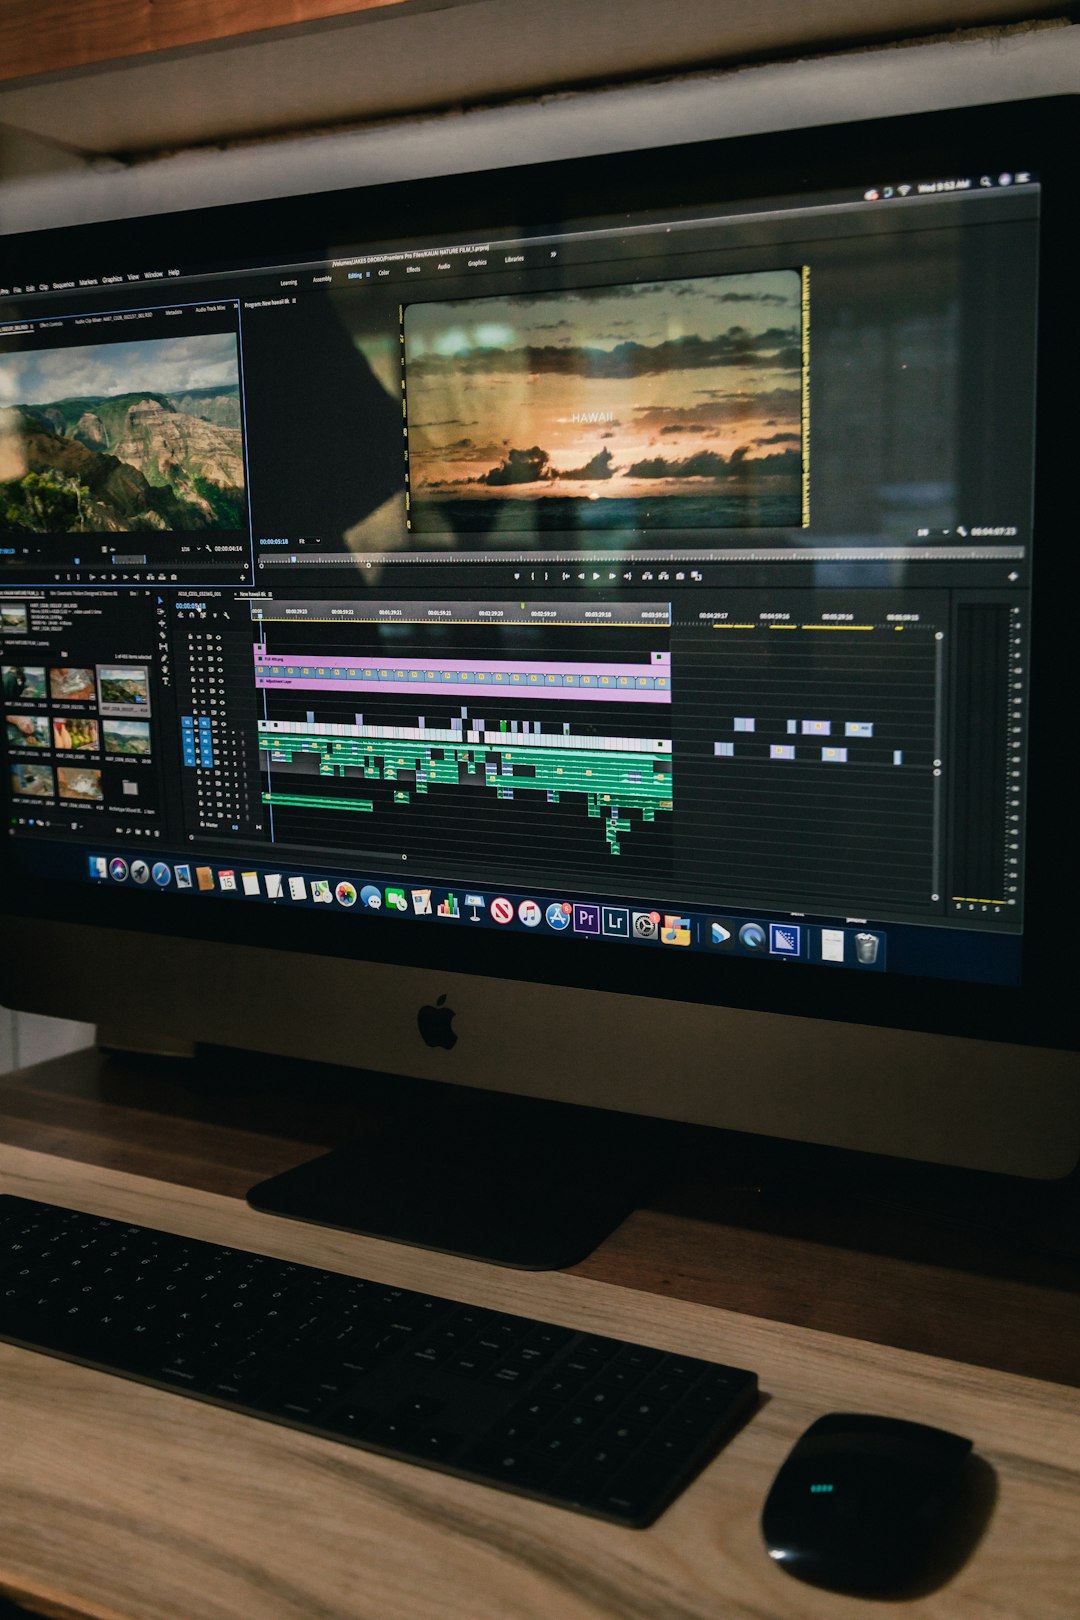
3. Cut Out the Main Subject
Masking is the process of separating a subject from its original background. Most editing programs offer selection tools, layer masks, pen tools, and edge-refinement features. A clean mask is essential, especially around hair, fabric, fur, glass, or transparent objects.
Instead of erasing pixels permanently, professional editors often use non-destructive masks. This allows the edges to be changed later without damaging the original image. Fine details can be improved with brush adjustments, contrast masks, or manual painting on the layer mask.
4. Place and Scale the Elements
Once the subject is isolated, it can be placed into the new background. At this stage, scale and position are critical. If a person appears too large for the doorway, street, or landscape, the viewer may notice immediately. The creator may use horizon lines, floor lines, and objects in the environment to judge proper size.
Perspective should also match. A subject photographed from above may not fit naturally into a scene photographed from ground level. Even when the average viewer cannot explain the problem, inconsistent perspective often makes a composite feel “off.”
5. Match Light and Shadows
Lighting is one of the main differences between an amateur composite and a polished one. The subject and background need a shared light source. Highlights, shadows, contrast, and direction should feel connected.
Shadows help anchor the subject into the scene. Without contact shadows under feet, objects, or furniture, elements may appear to float. A soft shadow can be painted on a separate layer and blurred to match the environment. Reflected light is also important. For example, a person standing near green grass may have a subtle green tint along the lower body.
6. Adjust Color and Atmosphere
Color grading unifies the image. Separate elements may come from different cameras, locations, or times of day, so they often need adjustment. Editors may use curves, levels, hue and saturation, color balance, selective color, or gradient maps to create harmony.
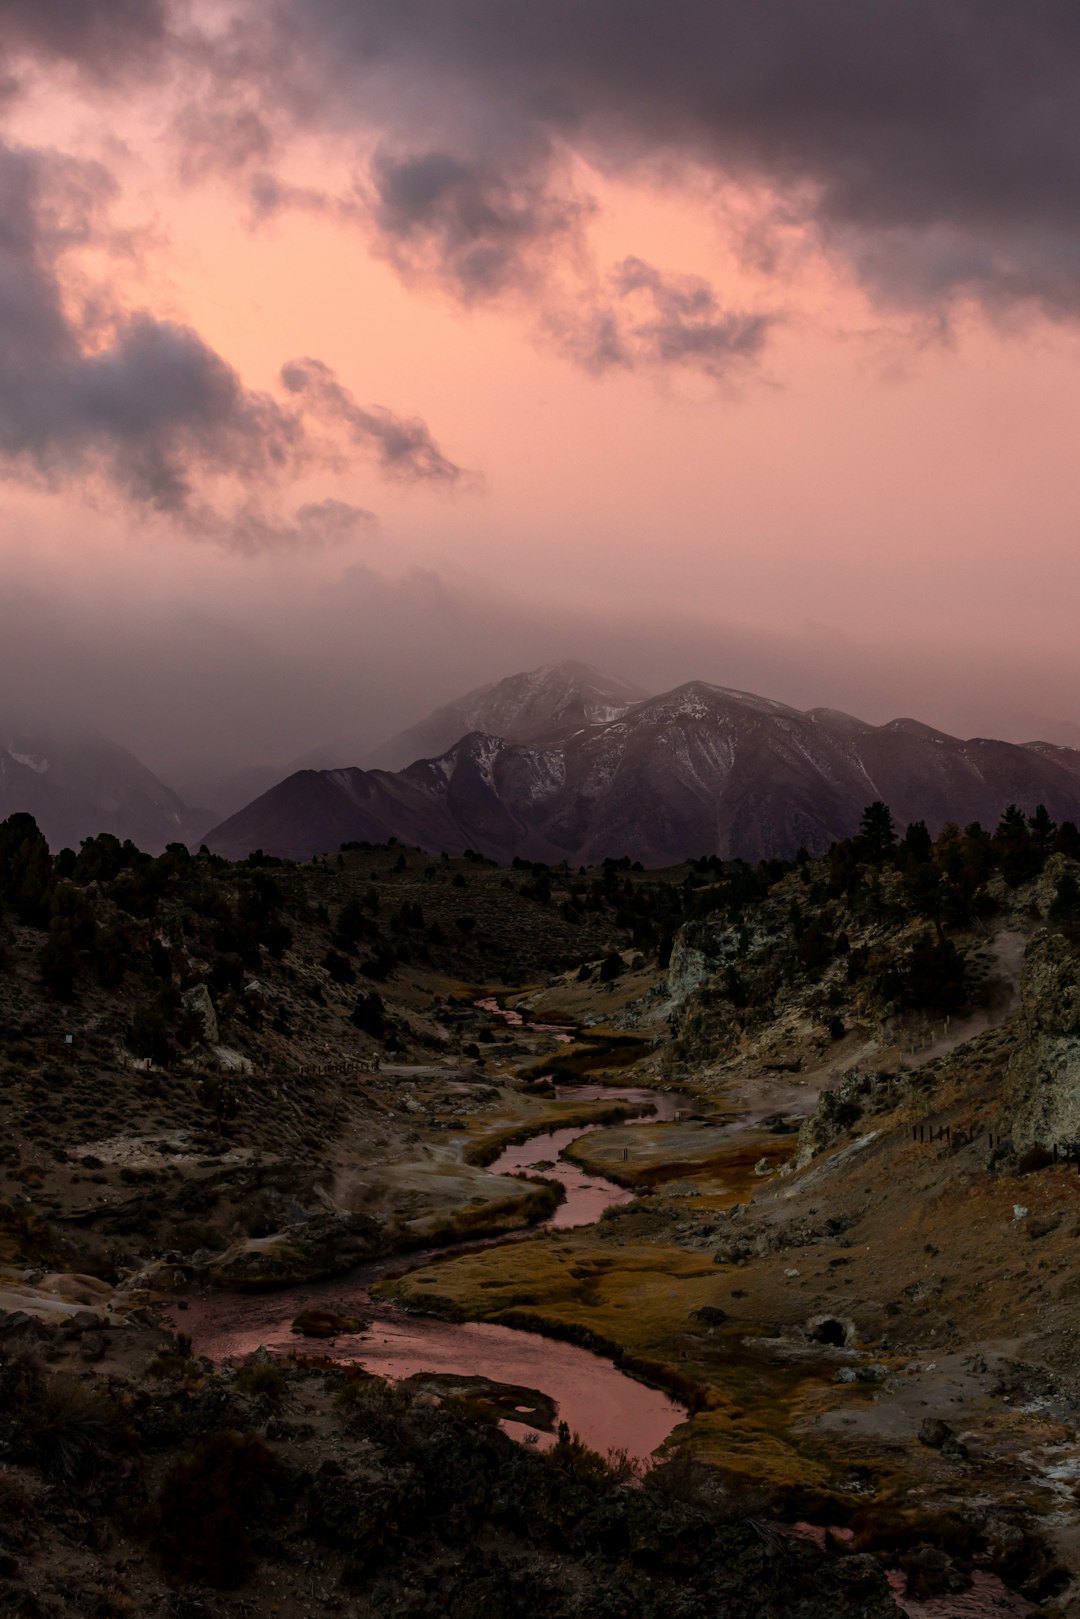
Atmospheric effects can also improve realism. Distant objects often appear lighter, cooler, and less contrasty. Adding a slight haze, grain, vignette, or overall color grade can help all elements feel as if they belong to the same world.
7. Refine the Details
The final stage involves checking edges, shadows, light direction, noise, sharpness, and overall balance. Small details make a large difference. Hair edges may need softening. The background may need blur to match depth of field. Grain may need to be added so that every layer shares the same texture.
A useful technique is to step away from the image and return later with fresh eyes. Viewing the composite in black and white can reveal contrast problems, while flipping the canvas horizontally can make awkward placement easier to notice.
Best Practices for Better Composite Photos
- Plan the image before shooting: This reduces mismatched angles, lighting, and scale.
- Use high-quality source files: Better resolution provides more flexibility during editing.
- Match the light direction: Consistent lighting makes the composite more believable.
- Create realistic shadows: Shadows connect subjects to the environment.
- Unify color and contrast: A final color grade helps multiple images feel like one scene.
- Keep the story clear: Every added element should support the image, not distract from it.
Common Mistakes to Avoid
Many unsuccessful composites fail because of small inconsistencies. A subject may be too sharp for the background, shadows may fall in the wrong direction, or the color temperature may not match. Overusing effects can also weaken the image. Smoke, sparks, lens flares, and textures should serve the concept rather than cover technical issues.
Another common mistake is ignoring edges. Hard, cut-out edges make subjects look pasted into the scene. Real objects often have subtle softness, reflected color, and environmental interaction. A convincing composite usually depends on these quiet details.
FAQ
What is the difference between a composite photo and a collage?
A composite photo usually aims to blend multiple images into one unified scene, often with realistic lighting and perspective. A collage may intentionally show separate pieces, varied textures, and visible layering as part of its style.
Can composite photos look realistic?
Yes. Realism depends on matching perspective, scale, lighting, shadows, color, sharpness, and texture. When these elements are consistent, a composite can appear as if it were captured in a single photograph.
What software is used to create composite photos?
Many image-editing programs can create composites, as long as they support layers, masks, selections, and color adjustments. Advanced work benefits from tools for non-destructive editing, precise masking, and detailed retouching.
Does a composite photo count as photography?
It can. Composite photography often begins with photographed elements, but it also includes digital editing and visual design. It is commonly considered a hybrid of photography and digital art.
Are composite photos ethical?
Ethics depend on context. In fine art, advertising, and fantasy imagery, composites are widely accepted. In journalism, documentary work, or evidence-based photography, altering reality can be misleading and should be clearly disclosed or avoided.