-

NordicTrack Financing vs Affirm: Which Is Better?
Buying a NordicTrack treadmill, bike, rower, or elliptical can feel exciting. Then the price…
-

Who Called Me From 833-793-2634?
Seeing 833-793-2634 appear on your phone can be unsettling, especially if it calls repeatedly…
-

MiriCanvas Review: Design Features, Templates & Canva Alternatives Compared
MiriCanvas is a friendly online design tool for people who want good visuals without…
Business
-

What Is Cryptochain and How Does It Work?
Cryptochain refers to a digital record system in which data is grouped, verified, and…
Spotlight
-

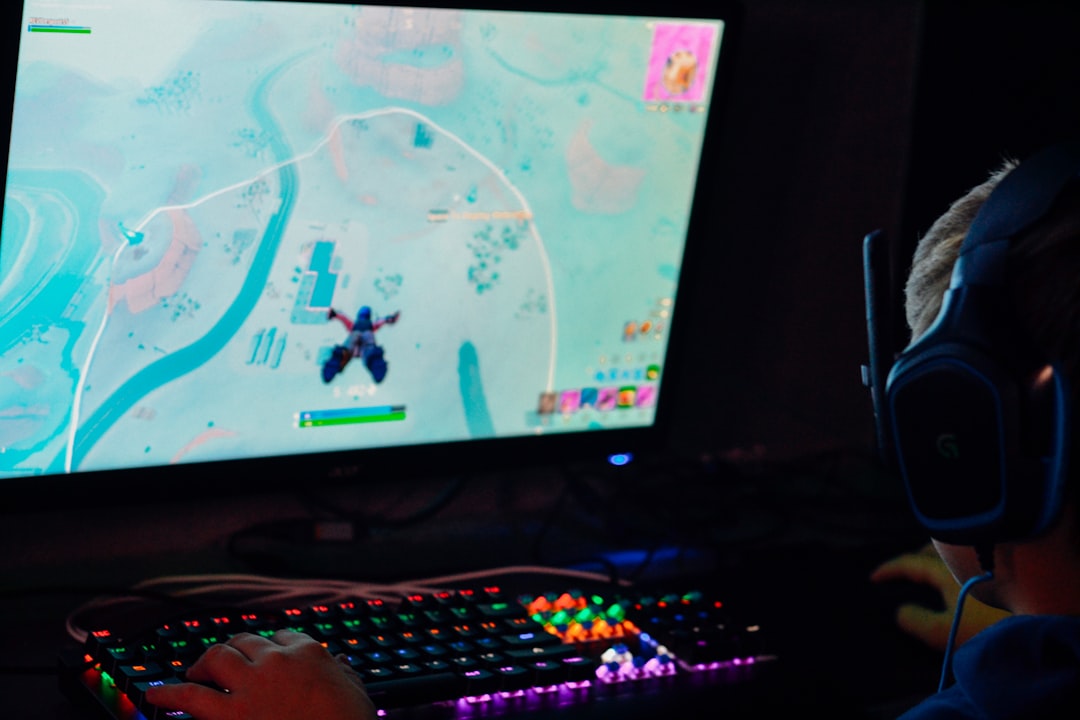
Is the Fortnite Festival Pass Worth It? Review
Fortnite Festival has turned Fortnite into more than a battle royale hub; it is…
-

Why Are Video Editor Vacancies Increasing in the Digital Content Industry?
The demand for video editors is rising because digital content has become a core…
-
Fortnite Unblocked: How to Play at School Safely
Fortnite is more than a game for many students: it is a social space,…
The Latest
-

Best Financing Options for Home Fitness Equipment
Building a home gym can be a practical investment, especially if it replaces monthly gym fees, travel time, and unused memberships. However, quality fitness equipment can be expensive: a treadmill,…
-
NordicTrack Financing vs Affirm: Which Is Better?
Buying a NordicTrack treadmill, bike, rower, or elliptical can feel exciting. Then the price tag taps you on the shoulder and says, “Hello, remember me?” That is where financing comes…
-
Who Called Me From 833-793-2634?
Seeing 833-793-2634 appear on your phone can be unsettling, especially if it calls repeatedly or leaves no voicemail. Because the number begins with 833, it is a toll-free number, which…
-
MiriCanvas Review: Design Features, Templates & Canva Alternatives Compared
MiriCanvas is a friendly online design tool for people who want good visuals without a design degree. It helps you make social posts, posters, presentations, invitations, banners, and more. The…
-

9 Best Database Software Platforms for Businesses, Developers and Analysts
Choosing the right database software can affect application speed, reporting accuracy, operational costs, and long-term scalability. Businesses, developers, and analysts often need different strengths: some prioritize transactional reliability, some need…
-

What Is Blender? Features, Beginner Guide & What You Can Create
Blender is one of the most capable and widely used open-source tools for creating 3D content. It is used by independent artists, studios, educators, engineers, game developers, and hobbyists to…