Keeping a PlayStation 5 clean is not just about appearance. Dust buildup can restrict airflow, increase fan noise, raise internal temperatures, and shorten the useful life of the console. The PS5 is designed with user-accessible covers and dust catcher areas, but cleaning it still requires care, patience, and the right tools. This guide explains how to clean your PS5 safely without damaging the casing, ports, fan, or internal components.
TLDR: Turn off and unplug your PS5 completely before cleaning it, then remove the side panels carefully and use a soft brush, microfiber cloth, and low-suction vacuum to clear dust. Avoid liquid cleaners, compressed air blown directly into the console, and touching internal components unnecessarily. Clean the exterior, vents, ports, fan area, and dust catcher holes gently, then reassemble the console only when everything is dry and secure.
Why Safe Cleaning Matters
The PS5 has a powerful cooling system, but it relies on unobstructed airflow. Over time, dust, pet hair, carpet fibers, and airborne debris can collect around the vents and inside the console’s dust catcher areas. If this buildup is ignored, the fan may work harder than necessary, causing louder operation and potentially higher operating temperatures.
Cleaning the console incorrectly, however, can create new problems. Excessive force can crack plastic clips, liquid can damage electronics, and strong compressed air can push dust deeper into the system. A safe cleaning method focuses on removing dust gradually while minimizing contact with sensitive parts.
Before You Begin: Important Safety Rules
Before cleaning your PS5, follow these precautions carefully. They may seem basic, but they are essential for protecting both the console and yourself.
- Power the console down fully. Do not clean it while it is in Rest Mode.
- Unplug every cable, including the power cord, HDMI cable, Ethernet cable, USB devices, and external drives.
- Let the console cool down for at least 15 to 30 minutes if it has been running recently.
- Work on a clean, stable surface with enough space to place the console and panels safely.
- Avoid water and household cleaners near vents, ports, or internal areas.
- Do not disassemble the console beyond the removable covers unless you are qualified and understand the warranty implications.
If your PS5 is under warranty and has serious overheating, grinding fan noise, shutdowns, or error messages, consider contacting official support instead of attempting deep internal repairs.
Tools You Need
You do not need specialized repair equipment for routine PS5 cleaning. In fact, simple tools are usually safer than aggressive cleaning products.
- Microfiber cloth: For wiping the exterior panels without scratching them.
- Soft brush: A clean paintbrush, electronics brush, or anti-static brush works well.
- Low-suction vacuum: Useful for removing dust from vents and dust catcher holes.
- Cotton swabs: Helpful for cleaning grooves, edges, and small openings.
- Isopropyl alcohol, 70% or higher: Optional, for lightly cleaning exterior plastic only.
- Small flashlight: Useful for inspecting vents and dust buildup.
Do not use: wet wipes, glass cleaner, bleach, abrasive pads, high-pressure air, or metal tools. These can stain the plastic, introduce moisture, scratch surfaces, or damage internal parts.

Step 1: Shut Down and Prepare the Console
Start by turning off the PS5 from the power menu. Wait until the indicator light is completely off. Once the console is fully shut down, unplug the power cable from the rear of the system and disconnect all other cables. Never rely only on the front power button if you are unsure whether the console is in Rest Mode.
Move the PS5 to a well-lit table or desk. If the surface is hard, place a clean towel underneath to prevent scratches. Remove the stand if it is attached, whether the console is positioned vertically or horizontally. Keep the screw and stand parts in a small container so they do not get lost.
Step 2: Clean the Exterior Panels
Before removing the covers, wipe the outside of the console. This prevents loose dirt from falling into openings while you work. Use a dry microfiber cloth and wipe in smooth strokes. Pay close attention to the glossy black center section, because it can scratch more easily than the white side panels.
If there are fingerprints or stubborn marks on the plastic, slightly dampen a corner of the microfiber cloth with water or a small amount of isopropyl alcohol. The cloth should be barely damp, not wet. Wipe the mark gently, then immediately dry the area with another clean section of the cloth.
Never spray liquid directly onto the PS5. Spraying can send moisture into seams, vents, or ports, where it may cause corrosion or electrical damage.
Step 3: Remove the Side Panels Safely
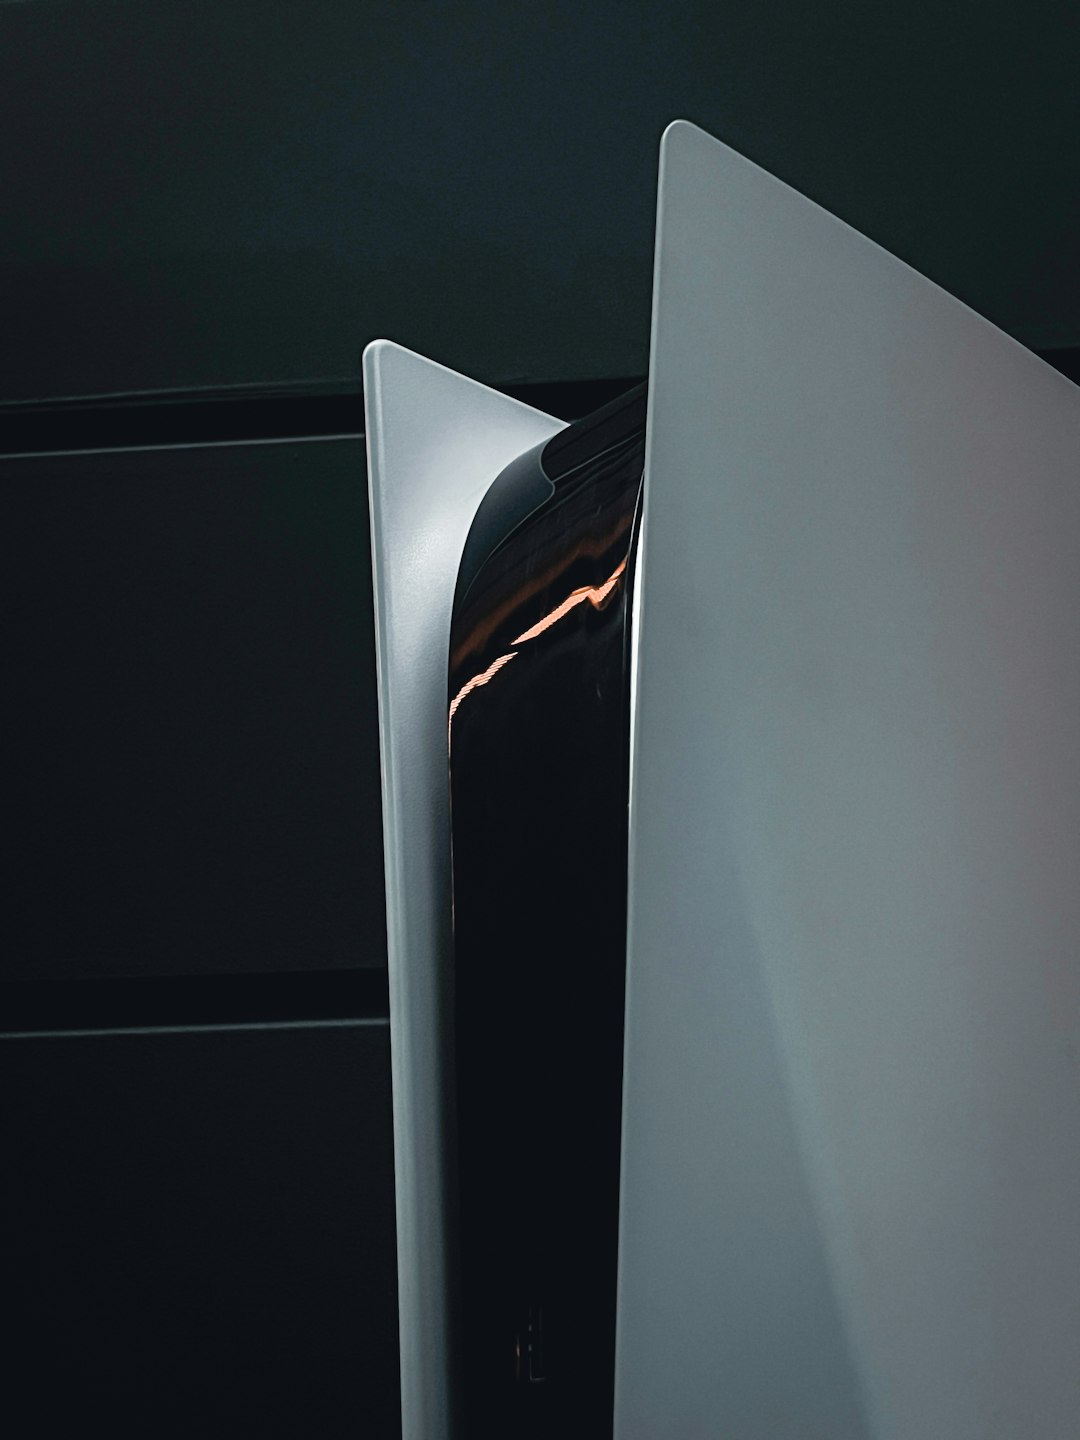
The PS5’s side panels are designed to be removable, but they must be handled correctly. Place the console with the PlayStation logo facing upward. Hold the upper corner near the logo, gently lift it, and slide the panel toward the bottom of the console. It should release without excessive force.
For the opposite panel, flip the console over and repeat the process. Lift the appropriate corner slightly and slide the cover away. If a panel does not move, do not pry it with a screwdriver or knife. Recheck your hand position and apply steady, controlled pressure.
Take your time during this step. The plastic clips are durable enough for normal use, but rough handling can bend or break them.
Step 4: Inspect the Dust Catcher Areas
With the covers removed, you will see recessed areas designed to help collect dust. These dust catcher holes allow users to remove dust without fully opening the console. Use a flashlight to inspect them. If you see gray lint, hair, or compacted dust, remove it carefully.
Use a low-suction vacuum near the dust catcher holes while loosening debris with a soft brush. Keep the vacuum nozzle close enough to collect dust, but do not press it hard against the console. The goal is gentle removal, not forceful suction.
Step 5: Clean the Vents and Airflow Openings
The PS5 has multiple vents that allow air to move through the system. Dust commonly collects along the top, rear, and side ventilation areas. Use your soft brush to loosen particles from the vent openings, brushing outward rather than pushing debris into the console.
Once the dust is loosened, use the vacuum on a low setting to remove it. Avoid placing the vacuum directly against delicate plastic fins for long periods. Short, controlled passes are safer and usually effective.
Compressed air is often recommended for electronics, but it should be used cautiously. If you use it, hold the can upright, spray only in short bursts, and do not force air deep into the console. Strong air pressure can spin the fan too fast or push dust farther inside, which may worsen the problem.
Step 6: Clean Around the Fan Area
Routine cleaning allows you to access the visible fan intake area without removing the fan assembly. Use a flashlight to check for dust on the fan blades or around the circular intake. If dust is visible, use a soft brush to gently loosen it while holding the vacuum nearby to collect debris.
Do not press hard on the fan blades. They are balanced components, and bending or stressing them can lead to vibration, noise, or reduced cooling performance. Also avoid spinning the fan rapidly with air. If the fan rotates slightly while brushing, that is usually not a concern, but it should not be forced to high speed.
If the fan area is heavily clogged or there is a persistent grinding sound, the console may require more advanced service. In that case, professional cleaning or official repair support is safer than deeper disassembly by an inexperienced user.
Step 7: Clean the Ports
Dust in the HDMI, USB, Ethernet, and power ports can cause poor connections, but ports must be cleaned with care. First, inspect each port with a flashlight. If you see loose dust, use a soft brush or a dry cotton swab around the outside edge.
Do not insert metal objects into ports. Do not scrape the internal contacts. If you use compressed air, use only a very short, gentle burst and keep the nozzle at a reasonable distance. The safest approach is to remove visible dust from the outer area rather than aggressively cleaning inside the connector.
- HDMI port: Avoid bending the internal pins or connector tongue.
- USB ports: Clean around the opening, not deep inside.
- Power port: Make sure it is completely dry and free from debris before reconnecting the cable.
Step 8: Reattach the Covers
Before reassembling, check that no loose dust remains on the exposed surfaces. Also make sure no cloth fibers or cotton swab pieces have been left behind. Align each side panel with the console and slide it back into place until it clicks securely.
Do not force the panels. If a cover does not sit flush, remove it and realign it. A properly installed panel should feel stable and should not rattle. Reattach the stand in the correct position for vertical or horizontal placement.
Step 9: Reconnect and Test
After the PS5 is reassembled, reconnect the power cable, HDMI cable, and any accessories. Turn the console on and listen for normal fan behavior. A clean console may sound quieter, especially if dust was blocking airflow, but do not expect complete silence. Some fan noise is normal during demanding games or downloads.
Check that the console displays properly, controllers connect correctly, and external drives or USB accessories are recognized. If anything seems loose, disconnect power again and inspect the relevant cable or port.
How Often Should You Clean a PS5?
The ideal cleaning schedule depends on your environment. In a clean, low-dust room, a light exterior cleaning every few weeks and an internal dust catcher cleaning every three to six months may be enough. If you have pets, carpeting, smoke, or poor ventilation, you may need to clean it more often.
A practical schedule is:
- Weekly: Dust the surrounding entertainment area and wipe the console exterior.
- Monthly: Check vents and clean visible dust buildup.
- Every 3 to 6 months: Remove the side panels and clean the dust catcher areas.
- As needed: Seek service if overheating warnings, shutdowns, or abnormal noises occur.
Where to Place Your PS5 to Reduce Dust
Cleaning is easier when the console is placed correctly. Keep the PS5 in an open, well-ventilated area rather than inside a closed cabinet. Leave several inches of space around the vents so hot air can escape. Avoid placing the console directly on thick carpet, where fibers can be pulled into the airflow system.
If possible, place the console on a hard surface and keep it away from pet beds, windows, smoke, and humid areas. Regularly vacuuming the room and dusting shelves will also reduce how much debris reaches the console.
Common Mistakes to Avoid
- Cleaning while plugged in: This creates unnecessary electrical risk.
- Using too much liquid: Moisture can enter seams and damage electronics.
- Blowing dust deeper inside: High-pressure air can move dust to harder-to-reach areas.
- Forcing the panels: Incorrect removal can damage clips or the casing.
- Ignoring loud noises: Persistent grinding, buzzing, or overheating should be investigated.
- Using abrasive materials: Rough cloths and pads can permanently scratch glossy surfaces.
Final Thoughts
Cleaning your PS5 safely is a straightforward maintenance task when done carefully. The key is to work slowly, use gentle tools, avoid moisture, and respect the limits of user-accessible cleaning. Removing dust from the exterior, vents, fan intake area, and dust catcher holes can improve airflow and help the console run more reliably.
Regular maintenance is far better than waiting until the system becomes noisy or overheats. With a clean environment, proper placement, and careful periodic cleaning, your PS5 can stay in good condition and continue delivering stable performance for years.

Leave a Reply